 |
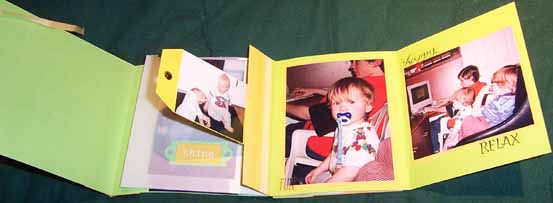
This mini brag book is quick and
easy to make, and you can fit up to 13 pictures in it! |
| |
Materials
Needed:
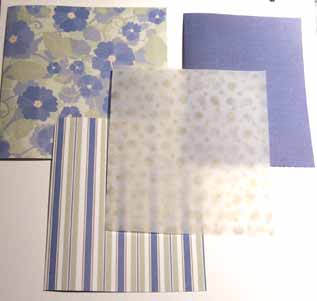
4 sheets 12x12 coordinating double-sided patterned paper
1 sheet 12x12 printed vellum (coordinating with papers)
(Note: you can make 2 books with these materials, as each book will only
use 1/2 of these sheets)
2 shipping tags
1 18-inch ribbon
Embellishments as desired |
|
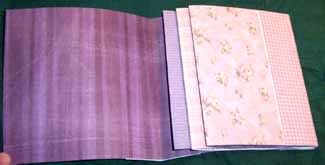
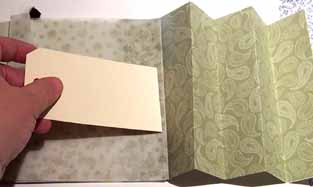
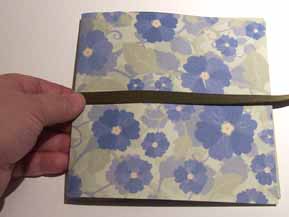
Step 1: Supplies, all cut and folded. |
Step 1. Cut each sheet of paper
and the vellum in half so that you have 5 6x12 pieces for 1 book. Choose
a piece for the cover, and a piece for the inside spine. Do not cut
those two pieces any further. Cut off 2 inches on one of the remaining
pieces so that it is 6x10. Cut 3 inches off the remaining piece so that
it is 6x9. Save the 3-inch piece that is left to use for the outside
spine later. Cut 1 inch off the vellum so that it is 6x11. Fold the
cover and the other page pieces each in half. You will have pieces that
look like the illustration. |
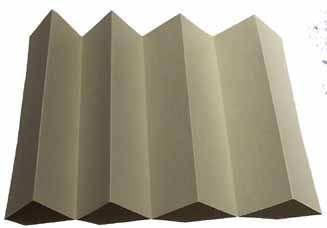
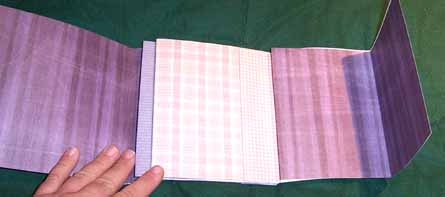
Step 2: Spine after being accordion
folded. |
Step 2. For the spine, fold the
6x12 piece in half, then in half again, then in half again. Open it up,
and make the folds into accordion folds, as illustrated. |
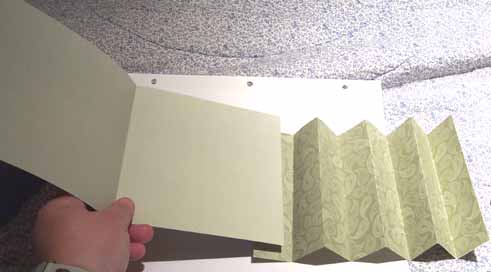
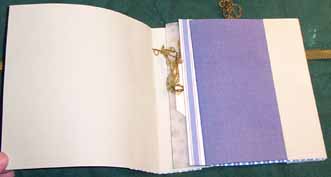
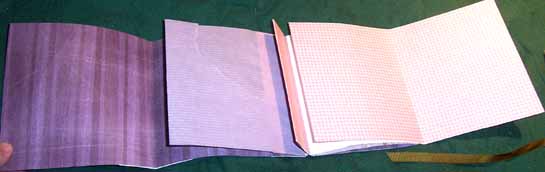
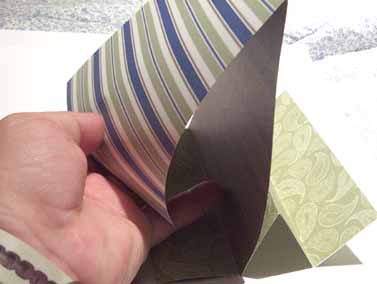
Step 3: Inserting the cover into the
spine. |
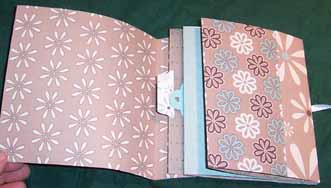
Step 3. With the spine facing up
as shown in the illustration, attach the cover as shown, into the first
“valley” of the spine. Use the adhesive of your choice, but make sure it
will adhere well. |
|
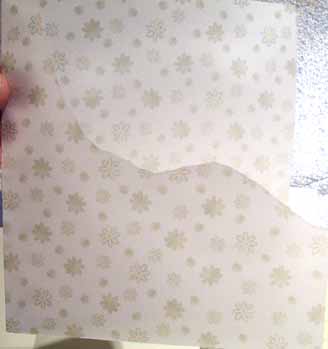
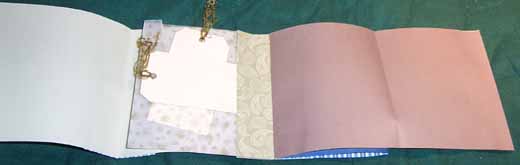
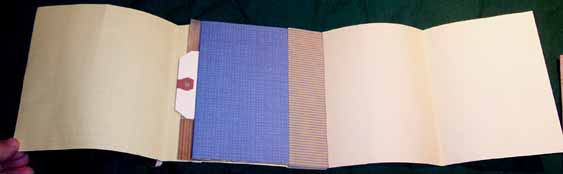
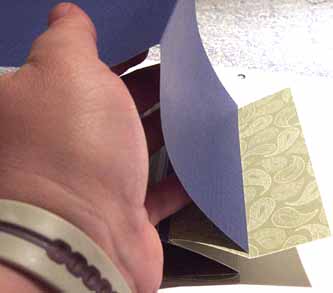
Step 4: Making the vellum pocket. |
Step 4. Tear 1 side of the
vellum as shown. Glue the bottom and side of the vellum to make a
pocket. |
|
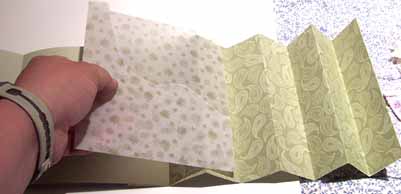
Step 5: Inserting the vellum pocket. |
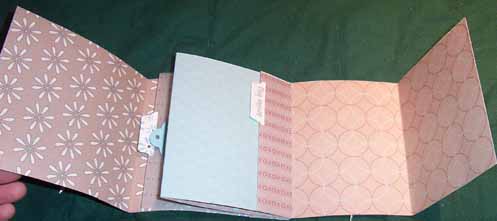
Step 5. Insert the vellum into
the 2nd valley of the spine, as shown. Adhere it to the left side of the
valley. |
|
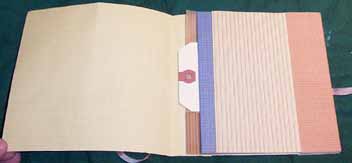
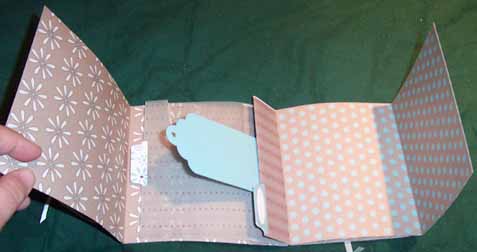
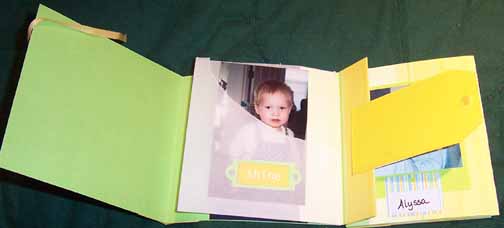
Step 6: Add the tag. |
Step 6: Insert the tag and
attach it to the right side of the same valley. |
|
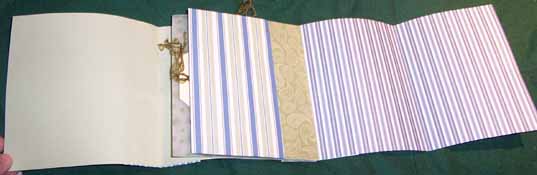
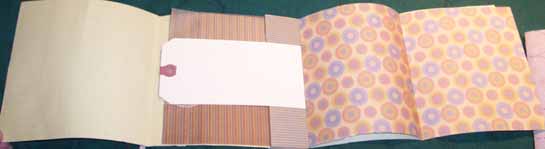
Step 7: Inserting the next page. |
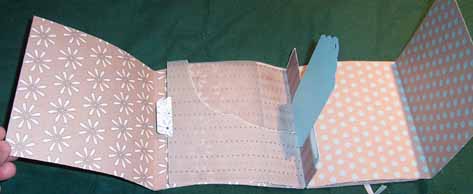
Step 7: Take the 6x10 piece of
paper and adhere the cut side (not the fold) to the left side of the
next valley. |
|
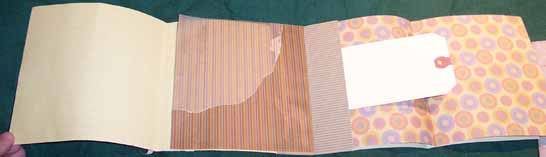
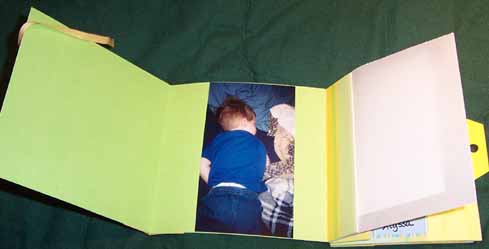
Step 8: Inserting the last page. |
Step 8: Take the 6x9 piece of
paper and adhere the cut side to the left side of the last valley. |
|
Step 8: Inserting the last page. |
Step 9: Turn the book so that
the spine faces you. Now attach all the “valleys” of the outside part of
the spine together, with whatever adhesive you prefer. |
|
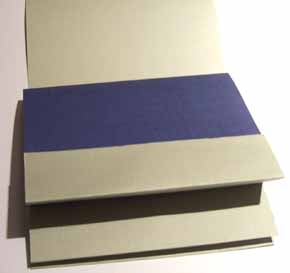
Step 9: Glue the spine together. |
Step 10: Fold the ribbon in
half, and put glue on about 1 1/2 inches on each side of the fold.
Attach the ribbon to the outside cover as shown. |
|
|
Step 11: Fold the three-inch
piece of paper in half (this was leftover from the 6x9-inch piece of
paper), and attach to cover over the ribbon.
Ta da! Now your book is done,
ready to embellish however you want. |
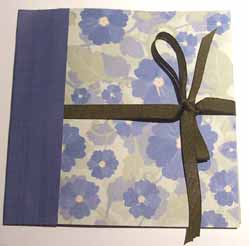
This one was done using 1-sided paper glued together. It
was all we could find at my daughter’s college bookstore. It’s pretty, but
falling apart already, because the only adhesive we had was glue sticks.
This was the one we made at the class my daughter and I
took at her college. Chatterbox Walls series again.
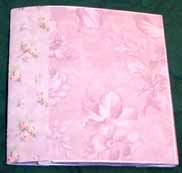
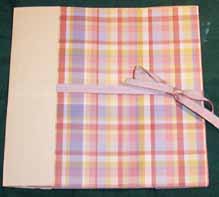
Here’s one I made using SEI Grandma’s Kitchen line. I used
some self-adhesive embellishments from a sheet from the same line.